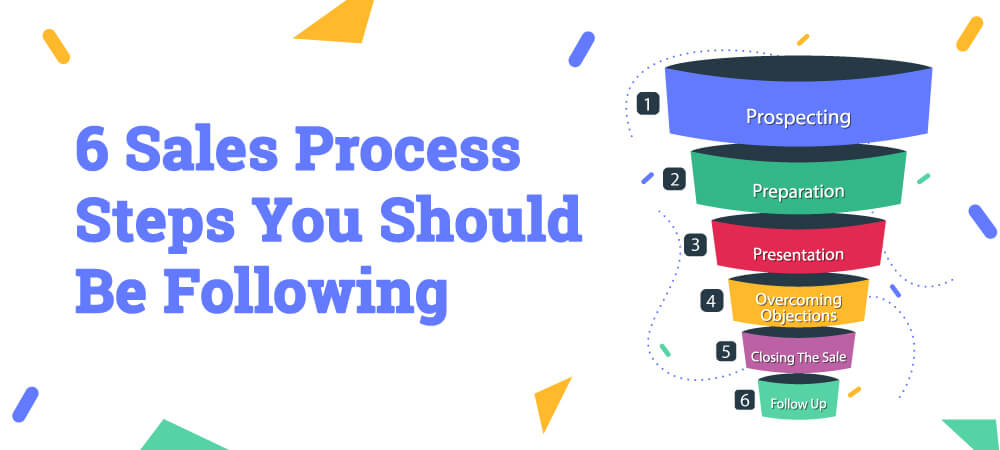
You work hard to add leads to your sales funnel, but it’s what comes next that will make the biggest difference in your bottom line. Following the right sales process steps can help you move your prospects through the funnel, and hopefully achieve an optimal outcome for you and the buyer alike.

Given that there’s an average of seven people involved in the decision-making process, it’s important for companies to follow a sales process that caters to all stakeholders. This process ensures your sales reps won’t skip steps while providing a consistent, professional experience in every interaction.
6 Essential Steps of the Sales Process
While each sales process will vary slightly between businesses, there are a few key steps that every sales flow should include:

1. Prospecting
Marketing teams are often tasked with prospecting for leads. But once those leads drop into your funnel, sales reps will have some prospecting of their own to do. This form of prospecting usually consists of lead qualification, lead scoring, and lead distribution.
Leads can be categorized in two ways: marketing qualified leads and sales qualified leads. Only those that are sales qualified should be passed along to a sales rep, while marketing qualified leads should be nurtured by marketing teams to turn them into sales qualified leads. This process is referred to as lead qualification, which examines lead behaviors that can indicate their potential readiness to buy.
Lead scoring is the process of assigning a score to every qualified lead. The higher the score, the closer they are to the end of your sales funnel and the more likely they are ready to make a buying decision. Interestingly, 79% of marketers admit that they have not implemented lead scoring in their prospecting practices. But those that have, say that it’s been invaluable to their experience. Knowing where your best opportunities lie can allow sales reps to better prioritize their time and close more opportunities.
Leads that have been qualified for sales and have received a score can be distributed to the right salesperson who is best equipped to sell to that specific lead. This is a process we call lead distribution, and LeadSquared allows you to automate this process to ensure that each sales rep receives the best opportunities to sell.
2. Preparation
During the preparation stage, the sales rep will review details about their lead, such as how they ended up in your sales funnel in the first place, their company, job title, and other information.
This is often referred to as the discovery stage, where sales reps are focused on getting to know their prospects, their pain points, solutions they’ve tried in the past, and reasons they are exploring you as a potential solution. You’ll use the information you learn here to move on to the next stage, which is where you present the solution to your prospect.
[Also read: 24 Best Open-ended Sales Questions]
3. Presentation
At this point, you should have done a good job building rapport with your prospect, getting to know their needs and their company, and understanding how you’re in a position to help them.
If you’ve done your homework, it should be relatively easy to make a presentation of what you can offer them. This is your opportunity to highlight your knowledge regarding the products and services your company offers while showing them how your solution fits into the existing needs.
4. Overcoming Objections
Salespeople often make the mistake of confusing objections with push back. Though the two do share some overlap, they are not one and the same. In many cases, objections are simply a way for the customer to gain clarity on what you presented to them. They’re not always an indication of a killed deal, though an inability to overcome objections can turn off potential buyers.
It’s important to keep in mind that inside sales reps only close about 18% of deals. Even if you adequately handle objections, there’s still a good chance that your prospect won’t make it all the way to close.
[Also read: 21 most common sales objections and how to handle them]
5. Closing the Sale
Sales reps put in a lot of work and effort to get to the point of close, yet 63% of them lose out on deals simply because they never asked for the sale. If you’ve done a great job delivering a presentation that fits with your buyers’ needs, answer their questions, and overcome objections, then you shouldn’t have a problem asking them for the sale.
closing the sale can be as simple as asking for a credit card to get started, sending over a contract, or even getting a loose verbal agreement while you prepare their product or service. In either case, you need some form of commitment from them before you start celebrating.
6. Follow Up
Following up with your new customer after the sale is easily overlooked. You’ve closed the deal, money has changed hands, and your customer is now set up with your product or service. But your commitment to them shouldn’t stop once the deal is over.
Ongoing follow-up can be critical to retaining your customers, as well as upselling and cross-selling them products that will continue to build their loyalty to you. Customers may also take this opportunity to provide their feedback on your product or service, such as asking questions, gaining clarity on how to use your product or service, and making valuable suggestions that can help you improve your product or service in the future.
In addition, the follow-up phase gives you an excellent opportunity to ask your satisfied customers for referrals. Research shows that 91% of companies would be willing to refer others to you, but only 11% of salespeople actually asked for the referral.
[Also read: Everything you need to know about the MEDDIC sales process]
With LeadSquared, our platform helps to automate these sales process steps to make sales less hands-on and more engaging for your reps. Try LeadSquared free for 15 days and empower your sales process with automation.


